Blog · April 2, 2026
When to use forced uninstall (and when not to)
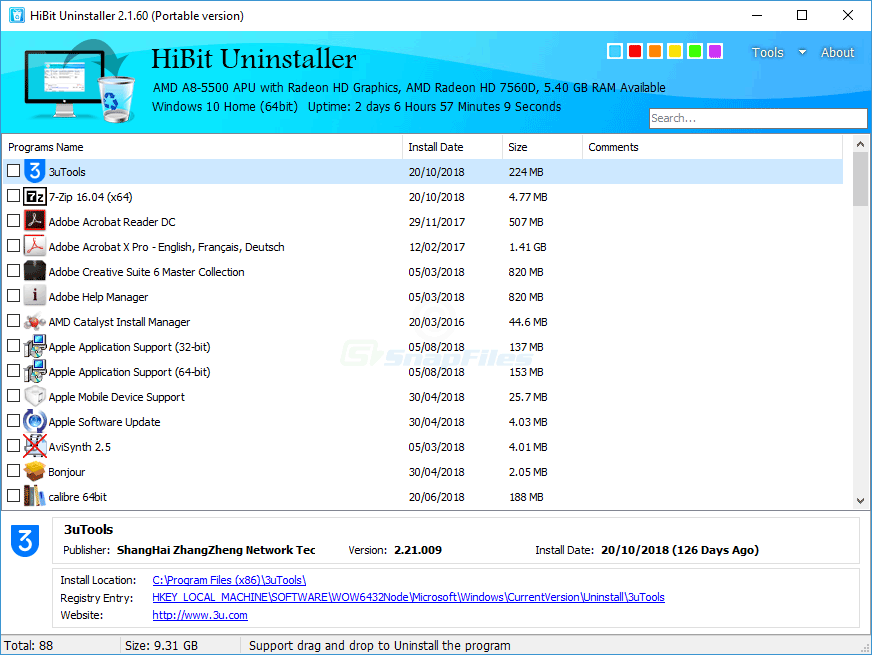
Forced uninstall is a powerful option in third-party uninstallers such as HiBit Uninstaller. It exists because Windows sometimes leaves behind a program entry with no working uninstall path. That power cuts both ways: it can fix a stuck state, or it can remove data another app still needs. This article is part of an independent guide—not official publisher documentation.
What “forced” usually means
In practice, forced uninstall bypasses or replaces the vendor’s uninstall flow. The tool may delete registration keys, remove the listing under Apps & Features, and offer to clean paths that still point at the product. It is not magic: if kernel drivers, filter stacks, or enterprise agents protect the app, you may still need vendor-specific steps.
Think of forced mode as registry and catalog surgery after the normal narrative broke. It does not replace reading documentation for security products or hardware utilities that install services deep in the stack.
Good reasons to consider it
- The standard uninstaller executable is gone, but the app still appears in the program list.
- The uninstall wizard crashes immediately or loops on the same error.
- MSI-based repair fails because the cached package is missing (common after manual folder deletes).
- You have confirmed the target (publisher name, install path, version) and created a restore point on a production machine.
On family PCs, the highest-value habit is still slow confirmation: write down the install path, search the publisher string once, and only then escalate from Settings → vendor tool → third-party forced path.
When to pause and pick a different path
- Security suites and VPNs often require official cleanup tools; forced removal can strand network filters.
- Virtualization stacks and GPU tools may share components across games and creative apps.
- You have not tried elevation—some uninstallers only fail when run as a standard user.
- A repair reinstall is still possible—reinstalling the same version, then uninstalling, can restore missing MSI metadata.
If the product ships a dedicated “removal tool” from the vendor, run it first. Those tools understand service stop order and driver unload sequences that generic uninstallers cannot guess.
A sensible order of operations
- Note install directory, version, and publisher.
- Run the vendor uninstaller if any entry point still exists.
- Create a restore point if the system is important or shared.
- Use forced uninstall only after those steps fail—or when files are already gone and the entry is “ghost” data.
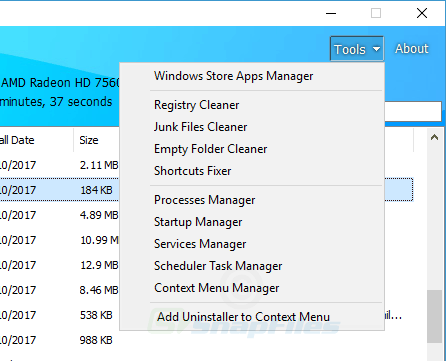
- Follow with a leftover scan you read line by line, then check startup and services.
How to document the session
For help desks, paste the program name, version, and a screenshot of the error into your ticket system. If you used forced uninstall, list the time and whether a restore point existed. That paper trail saves hours when something else breaks two days later and the team needs to know what changed.